There's something almost meditative about pour-over coffee. The slow spiral of water, the bloom of fresh grounds, the anticipation as that first aromatic stream hits your cup. But if you've ever tried making pour-over at home and ended up with something bitter, sour, or just disappointingly bland, you're not alone.
The good news? Pour-over isn't complicated once you understand what's actually happening in your dripper. Let's break it down so your next cup tastes like it came from your favorite café.
Why Pour-Over in the First Place?
Before we dive into technique, it's worth asking: why bother with pour-over when you could just press a button on a drip machine?
The answer comes down to control. With pour-over, you decide exactly how long the water stays in contact with your grounds, how much turbulence you create, and how evenly you extract flavor. This means you can coax out the subtle notes that make specialty coffee worth the price—the citrus brightness of an Ethiopian natural, the chocolate depth of a Colombian washed, the berry sweetness of a Kenyan AA.
"Pour-over doesn't make better coffee automatically. It gives you the tools to make better coffee intentionally."
The Equipment You Actually Need
You don't need to spend a fortune to get started. Here's what matters and what doesn't.
The Essentials
- A pour-over dripper: The Hario V60, Kalita Wave, and Chemex are the big three. Each produces slightly different results, but any will work beautifully for beginners.
- Paper filters: Match them to your dripper. Using the wrong size creates channeling problems.
- A kettle: Ideally gooseneck for control, but any kettle works in a pinch.
- Fresh coffee: This is non-negotiable. Coffee peaks 7-21 days after roasting.
- A scale: Measuring by weight, not volume, is the single biggest upgrade you can make.
Nice to Have (But Not Required)
- A gooseneck kettle with temperature control
- A timer (your phone works fine)
- A burr grinder for fresh grinding
The Basic Pour-Over Method
Let's walk through a standard recipe that works with most drippers. Once you nail this, you can start experimenting.
Step 1: Heat Your Water
Bring water to a boil, then let it cool for about 30 seconds. You're aiming for roughly 200-205°F (93-96°C). Too hot and you'll over-extract, creating bitterness. Too cool and you'll under-extract, leaving you with sour, weak coffee.
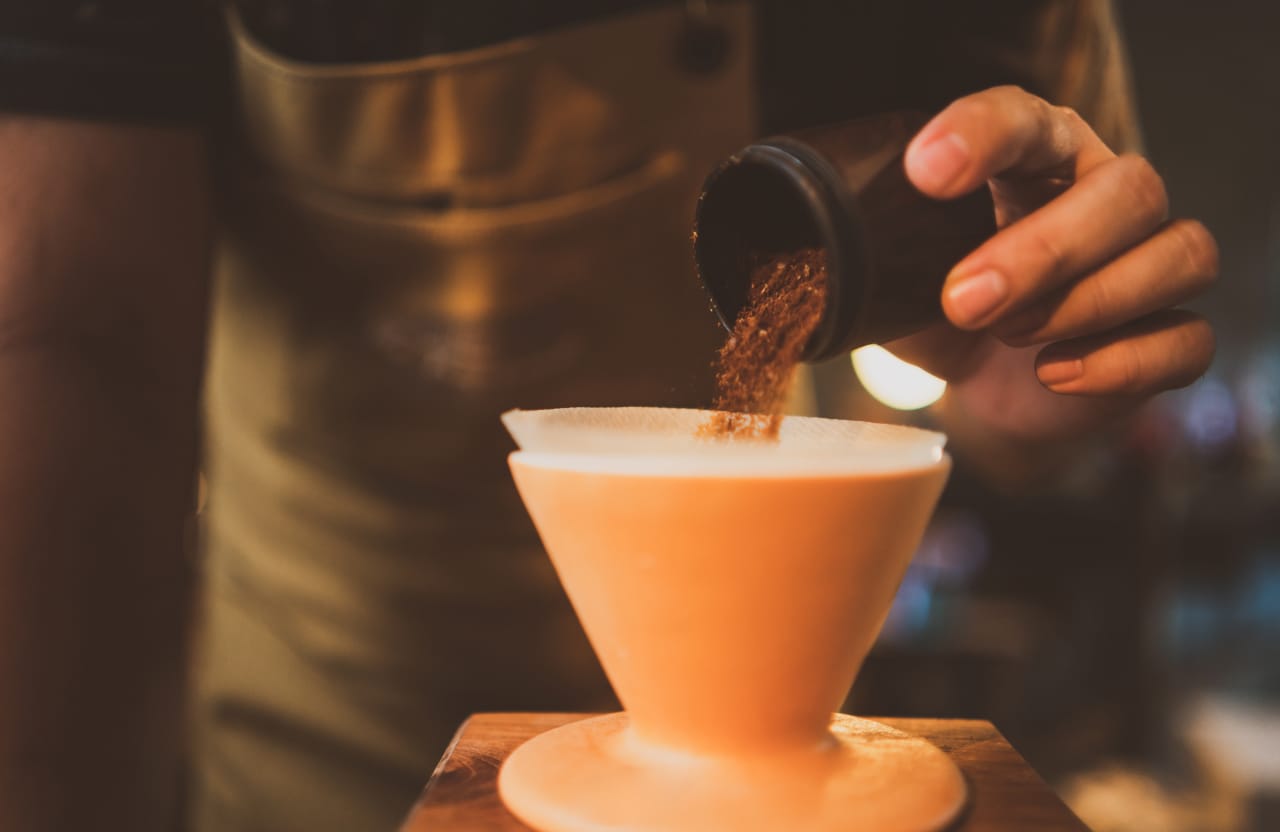
Step 2: Grind Your Coffee
For pour-over, you want a medium-fine grind—think sea salt or slightly finer. Start with a 1:16 ratio of coffee to water. For a single cup, that's about 15 grams of coffee to 240 grams of water.
Step 3: Rinse the Filter
Place your filter in the dripper and rinse it thoroughly with hot water. This removes any papery taste and preheats your brewing vessel. Don't skip this step—it makes a noticeable difference.
Step 4: Add Coffee and Create the Bloom
Add your ground coffee to the filter and give it a gentle shake to level the bed. Now pour just enough water to saturate all the grounds—usually about twice the weight of your coffee (so 30 grams of water for 15 grams of coffee).
This is the bloom. You'll see the coffee puff up and release gases, especially if it's fresh. Wait 30-45 seconds. This degassing step ensures even extraction in the main pour.
Step 5: The Main Pour
Here's where technique matters. Pour in slow, steady circles, starting from the center and spiraling outward, then back to the center. Keep the water level relatively consistent—you're not trying to fill the dripper to the brim.
Pour in pulses if that's easier. Some brewers do three or four pours with brief pauses between each. Others prefer one continuous pour. Both work.
Step 6: Let It Drain
Once you've added all your water, let it drain completely. Total brew time should be somewhere between 2:30 and 4:00 minutes, depending on your grind size and dripper.
When Things Go Wrong
Troubleshooting pour-over is actually pretty straightforward once you know what to look for.
| Problem | Likely Cause | Solution |
|---|---|---|
| Bitter, harsh taste | Over-extraction | Grind coarser or pour faster |
| Sour, thin taste | Under-extraction | Grind finer or pour slower |
| Drains too fast | Grind too coarse | Adjust finer |
| Drains too slow | Grind too fine | Adjust coarser |
| Uneven flavor | Channeling | Pour more evenly, check filter placement |

Three Tips That Changed Everything for Me
After years of morning pour-overs, these are the adjustments that made the biggest impact on my cups.
First, preheat everything. Your cup, your dripper, your carafe if you're using one. Cold ceramic steals heat from your brew water, dropping you out of the ideal extraction range.
Second, trust the scale over your eyes. Eyeballing water amounts is wildly inconsistent. A $15 kitchen scale pays for itself in better coffee within a week.
Third, keep notes. When you make a great cup, write down what you did. Grind setting, water temperature, pour time, coffee origin. When you make a bad cup, write that down too. Patterns emerge quickly.
Ready to Experiment?
Once you've got the basics down, the real fun begins. Try different origins and notice how an Ethiopian tastes completely different from a Guatemalan using the same method. Adjust your ratio—some coffees shine at 1:15, others at 1:17. Play with water temperature for lighter versus darker roasts.
Pour-over rewards curiosity. Every variable you tweak teaches you something about extraction, about the coffee itself, about your own preferences.
Your perfect cup is waiting. You just have to pour it.